
Documentation/Campaigns
Create & send a campaign
From a blank draft to a scheduled send, step by step.
1. Create the campaign
Click CREATE CAMPAIGN
It's at the top right of the Campaigns page.
Name it
The campaign name is internal, for your reference only — recipients never see it.
Click Create
Your campaign is created as a Draft.
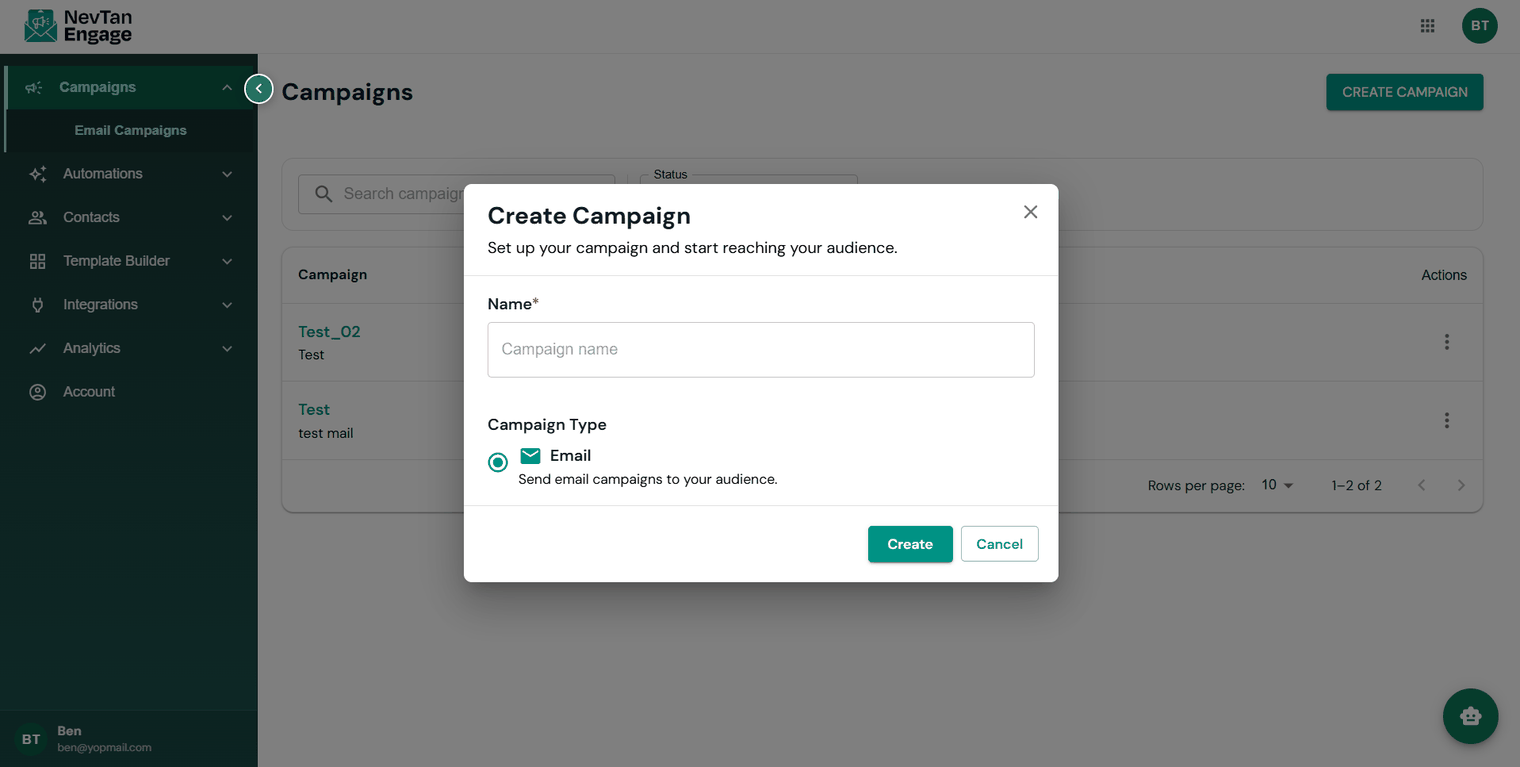
Naming a new campaign
2. Choose your recipients
Open the lists-or-segments selector and pick who receives this campaign. You can select any combination of lists and segments — Engage merges them and de-duplicates, so nobody gets the message twice.
Selected audiences appear as chips; remove one with its ×.
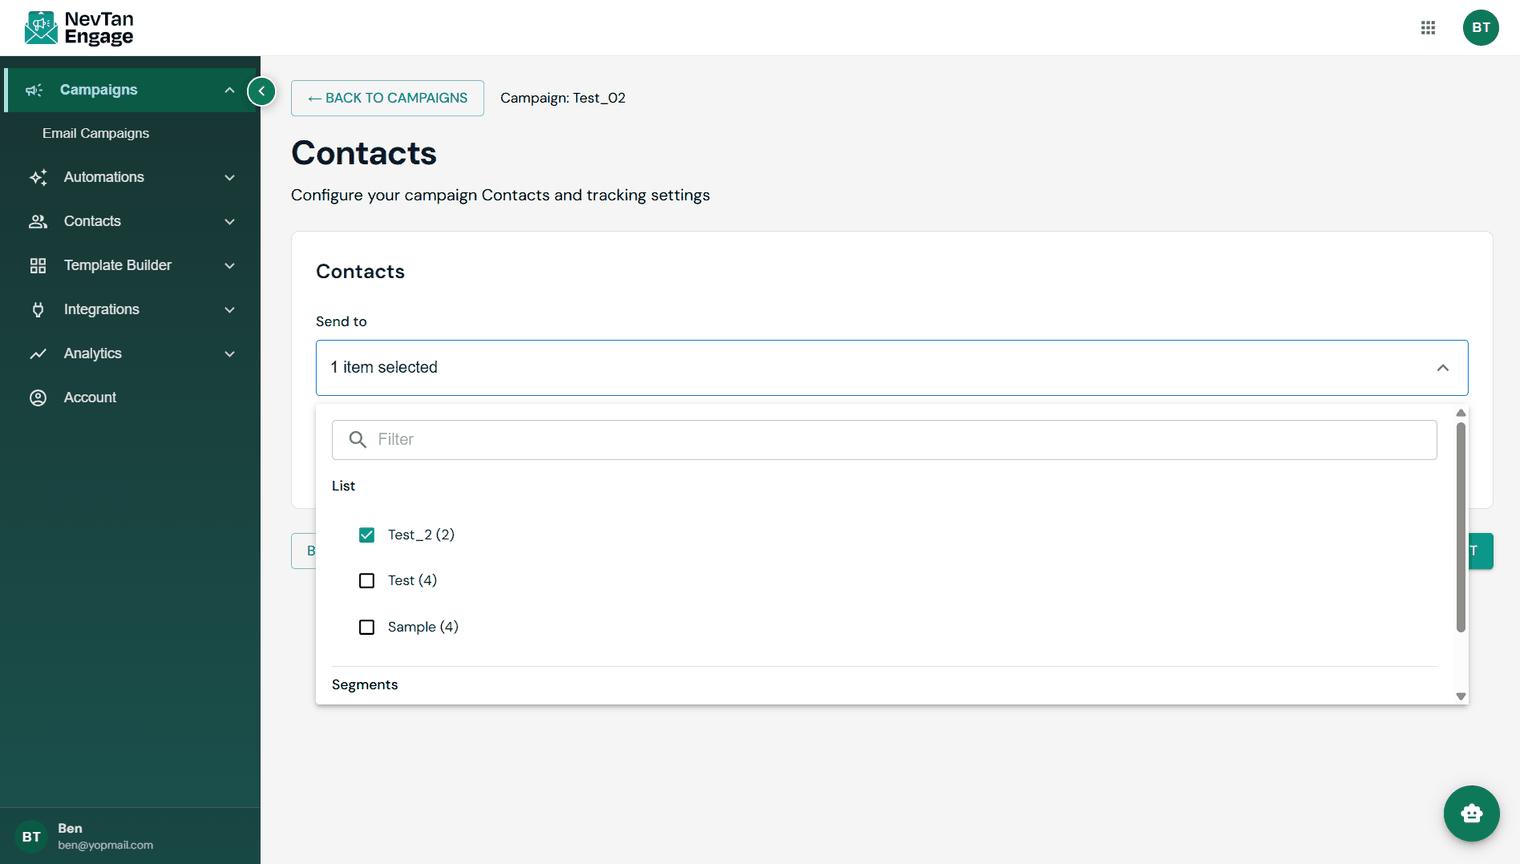
Choosing who receives the campaign
Suppressed contacts are always excluded, whichever list or segment they're in. See Suppression list.
3. Build the message
| Field | Required | Description |
|---|---|---|
| Subject Line | Yes | What recipients see in their inbox. Short and specific wins. |
| Preview Text | No | The snippet shown after the subject in most inbox previews. |
| Sender Name | Yes | The from-name recipients see — usually your brand. |
| Sender Email | Yes | The address it comes from. Use an address on your verified domain. |
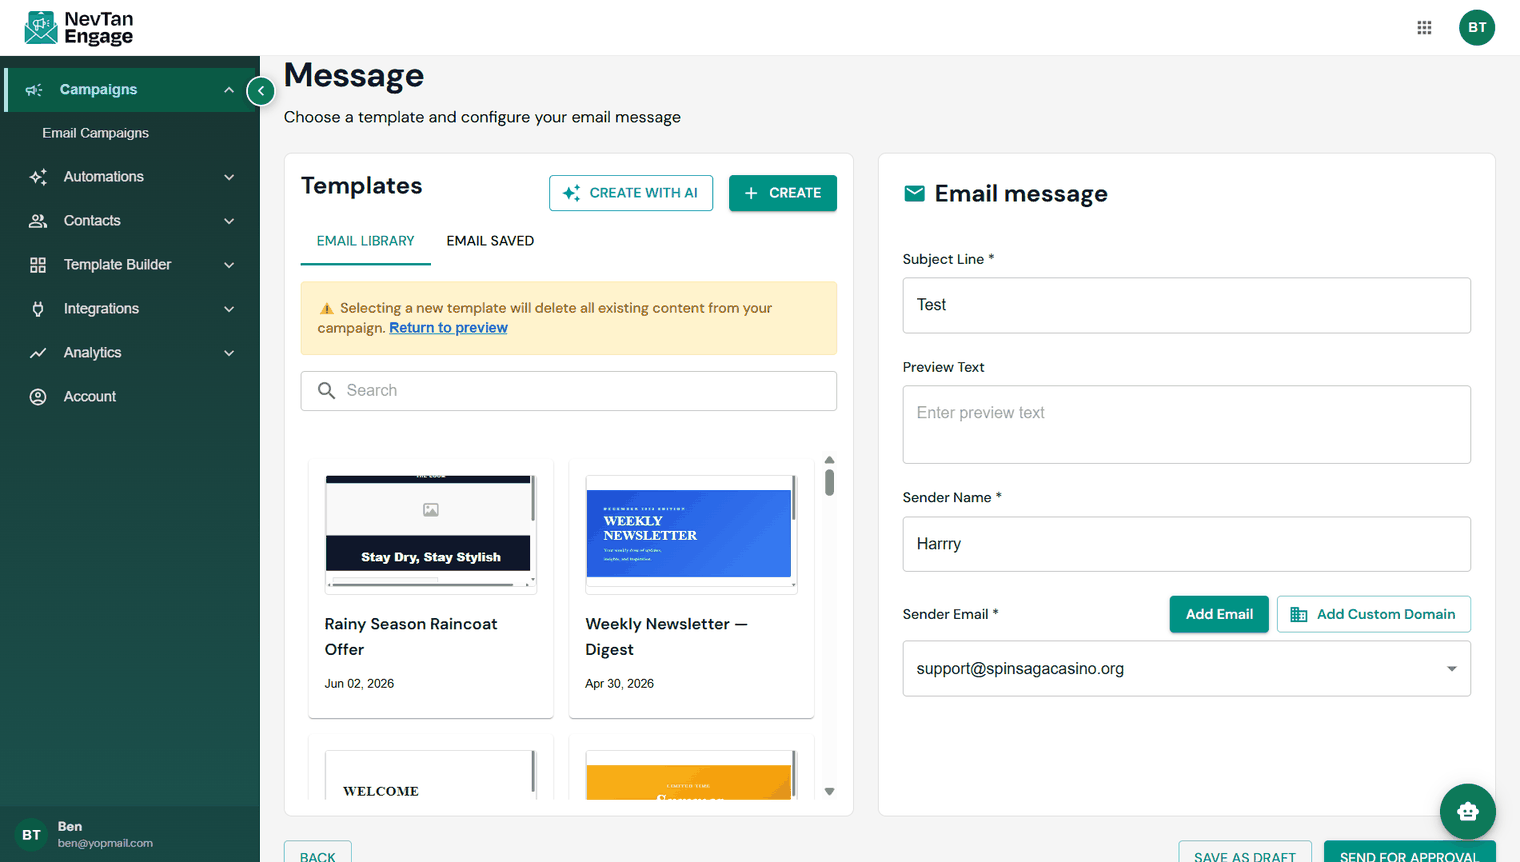
Subject, preview text, and sender details
Preview text is prime inbox real estate that most senders waste. Treat it as a second subject line, not an afterthought.
Choose a design
- Start from a predefined template — Engage's ready-made responsive designs.
- Use one of your saved templates from the library.
- Design a new one in the drag-and-drop builder.
Engage saves a template draft against the campaign, so if you leave the builder and come back, your work in progress is still there. See The template editor for how the builder works.
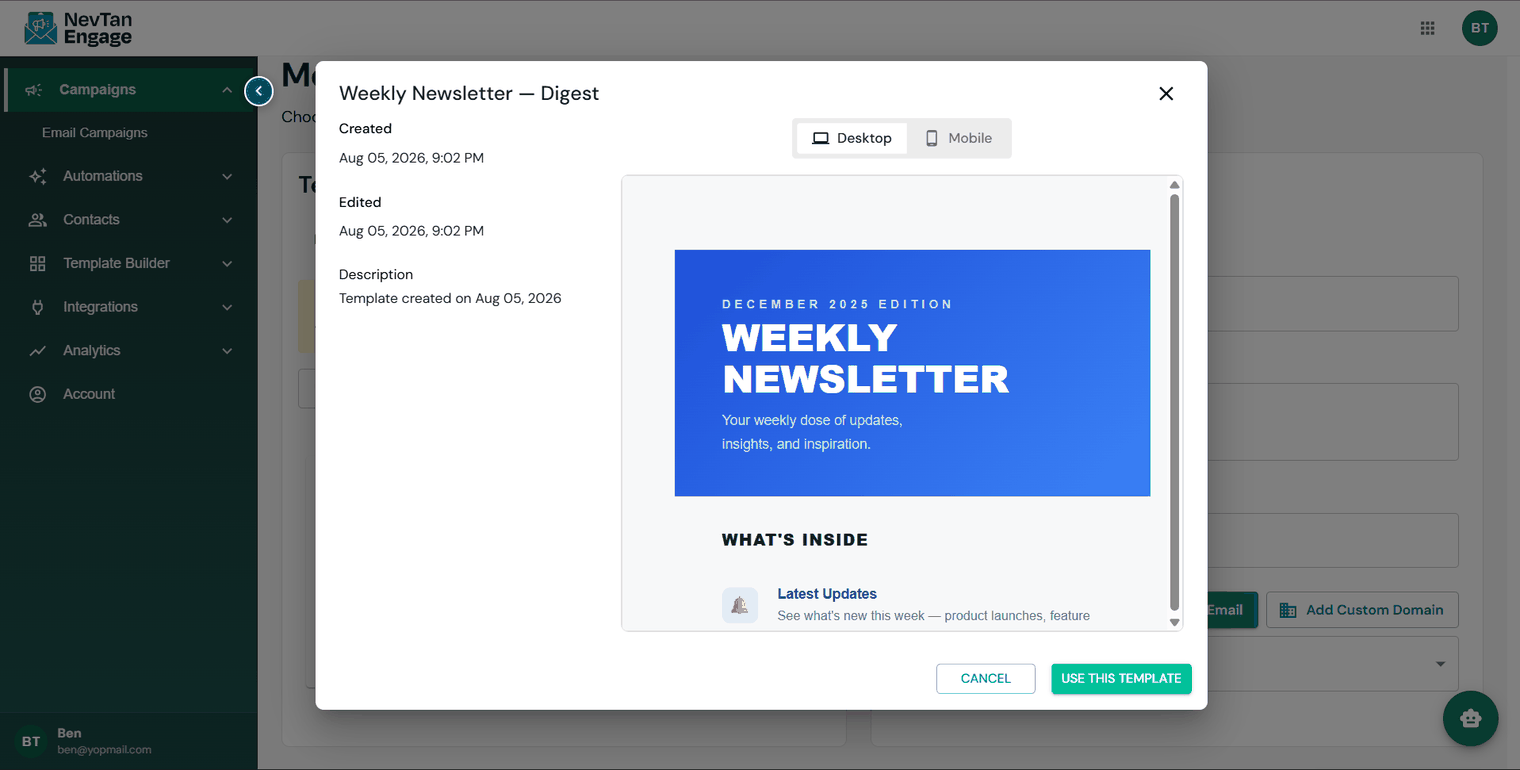
Designing the email
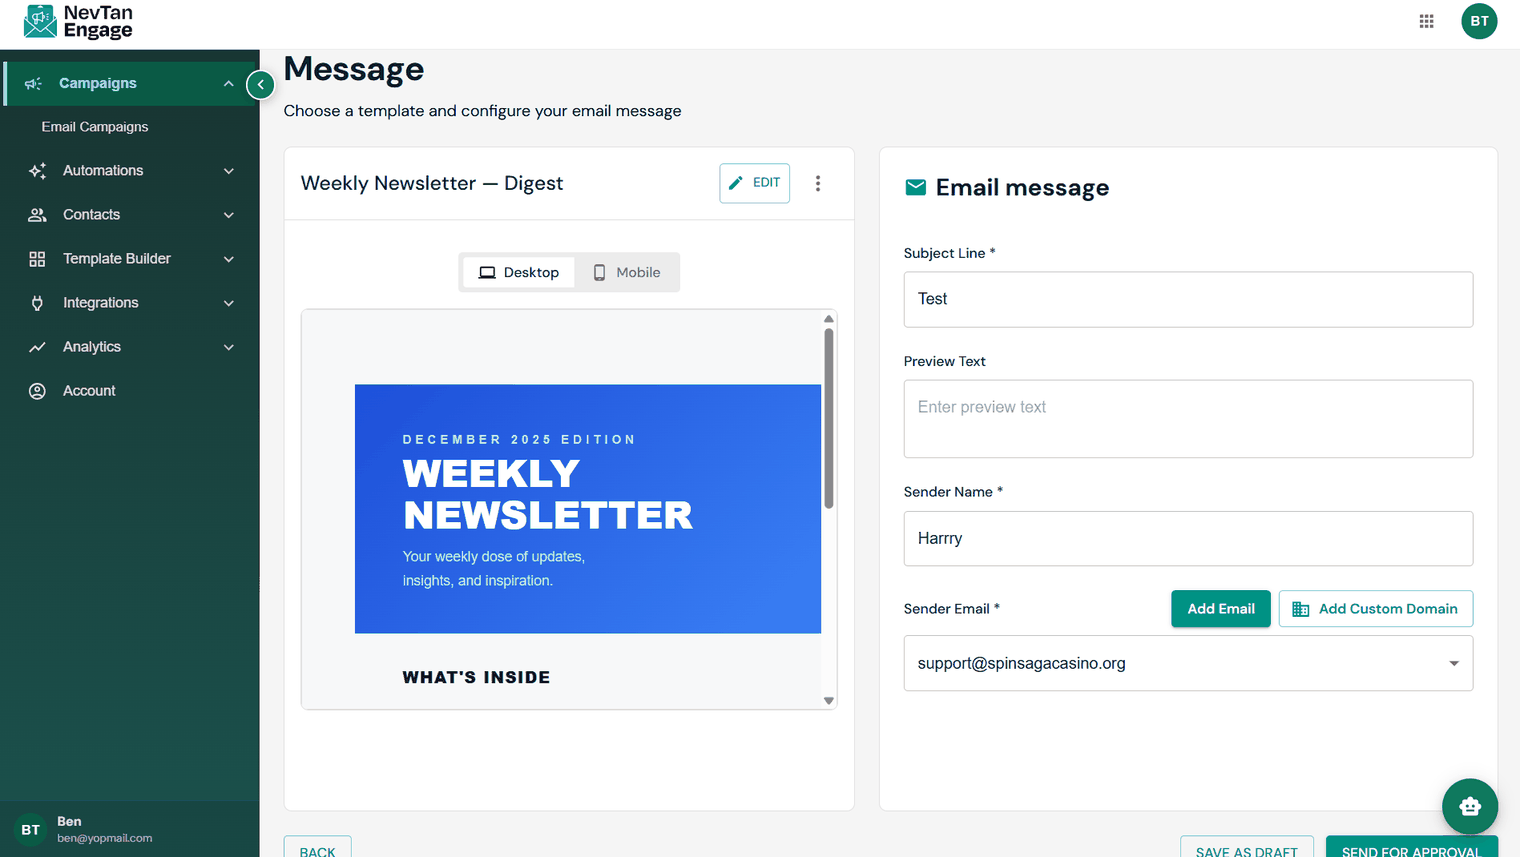
Always check the mobile view
4. Submit for review
Campaigns are reviewed before they can go out. An administrator approves or rejects the content:
- Pending for approval — waiting for review
- Approved — cleared to send or schedule
- Rejected — sent back with feedback; fix the content and resubmit
This gate catches problems before anything reaches real inboxes, protecting your domain reputation.
5. Send or schedule
Once approved, click Send / Schedule on the campaign. You get two choices:
Send now
Goes out to your selected audience immediately.
Schedule
Pick a Date (required), a Time, and the Timezone the time is expressed in. The campaign moves to Scheduled and sends itself at that moment.
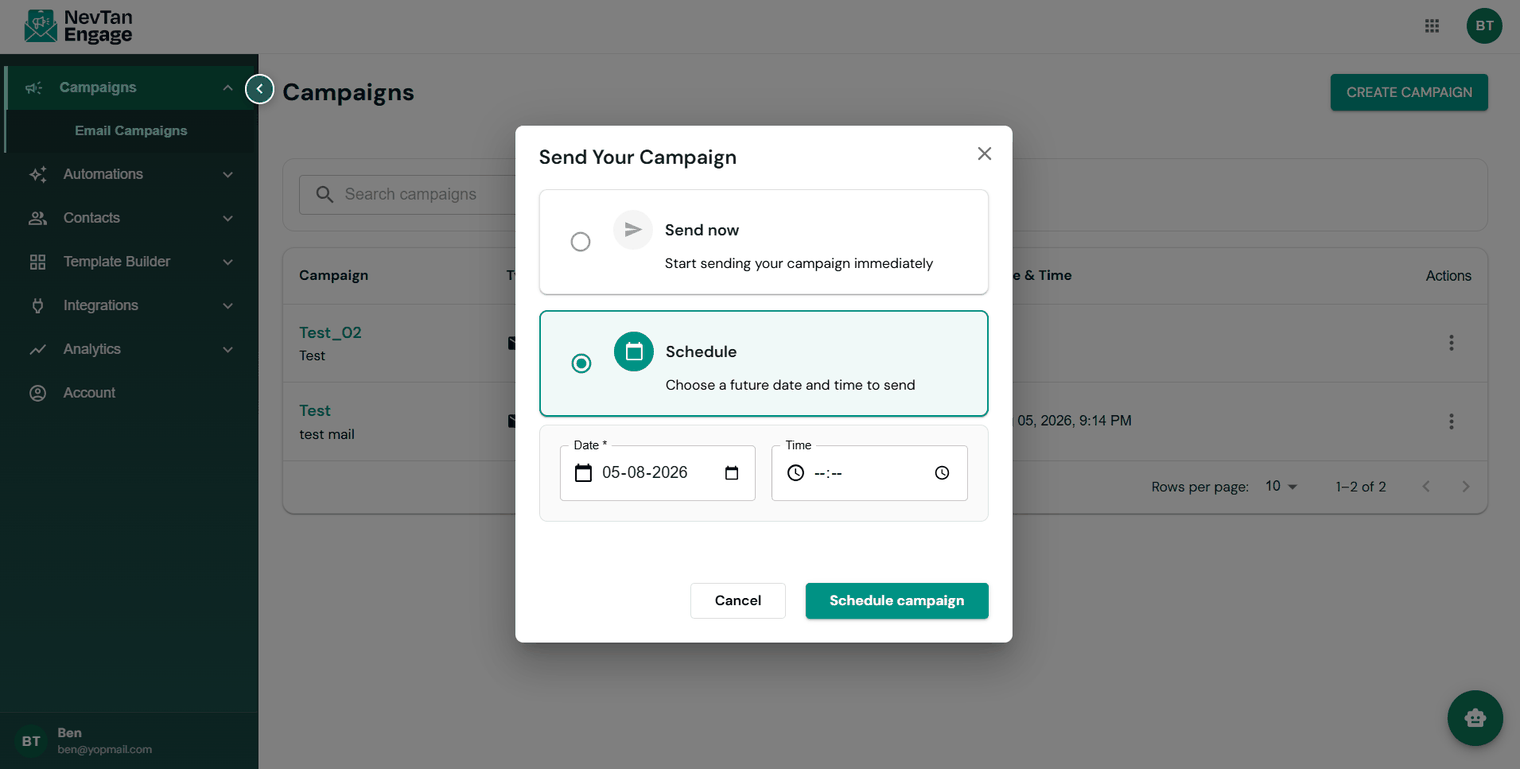
Send now, or schedule for later
A send can't be recalled once it starts. Check the audience, the subject line, and every link one more time before you confirm.
Managing campaigns
Open the actions menu on any row:
- Edit message — go back into the message and design. Not available once a campaign has been sent.
- Edit details — rename the campaign or change its details.
- View Activity — the per-recipient breakdown, see Reading a campaign's results.
- Delete — remove a campaign you no longer need (you'll be asked to confirm).